The Crispy Chicken Caesar Wrap is the holy grail of handheld lunches, combining the crunch of golden-brown breaded chicken with the refreshing snap of romaine lettuce. This recipe captures that perfect smartphone-photo aesthetic, featuring a soft white flour tortilla packed tightly with savory layers. Whether you are meal prepping for a busy week or need a 20-minute dinner that feels like a restaurant treat, this wrap delivers on every level of flavor and texture.
When you slice into this Crispy Chicken Caesar Wrap, you immediately see the dense assembly of ingredients that Pinterest dreams are made of. The contrast between the thick creamy white caesar dressing and the delicate shavings of parmesan cheese creates a rich, umami-packed bite that is impossible to resist. It is a visual and culinary masterpiece that balances heat, crunch, and creaminess in one portable package.
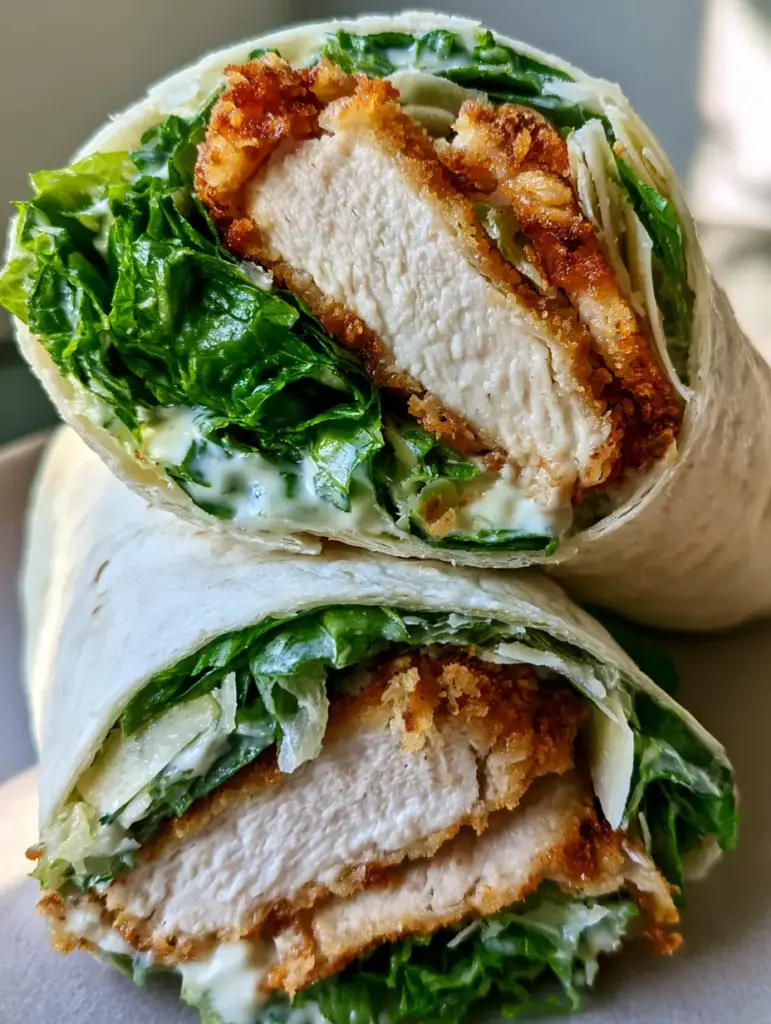
Why You Will Crave This Crispy Chicken Caesar Wrap
- Textural Contrast: The crunch of the golden breaded chicken against the soft flour tortilla is a sensory delight.
- Professional Dressing Ratio: We use a thick creamy caesar dressing that coats every leaf of fresh vibrant green chopped romaine lettuce without making the wrap soggy.
- Shaved, Not Shredded: Using delicate shavings of parmesan cheese instead of the canned stuff adds a sophisticated, nutty finish.
- Handheld Perfection: Designed for a cross-section reveal that looks just as good as it tastes.
If you love versatile chicken recipes, you should also check out our stuffed chicken breast or these juicy chicken ricotta meatballs for more weeknight inspiration.
The Essential Ingredients for Success
Creating a restaurant-quality Crispy Chicken Caesar Wrap requires specific components that work in harmony. Do not skip the quality of the greens or the thickness of the sauce.
The Protein Foundation
- Chicken Breast: 1 lb (450g) of boneless, skinless breasts, sliced into strips for even cooking.
- Panko Breadcrumbs: 1 cup (60g) for that signature golden-brown breaded chicken exterior.
- All-Purpose Flour: 1/2 cup (65g) to ensure the egg wash sticks perfectly to the meat.
- Large Eggs: 2 eggs, beaten, to act as the culinary glue for your breading.
The Fresh & Creamy Elements
- Flour Tortillas: 4 large (10-inch) soft white flour tortillas to hold the generous fillings.
- Romaine Lettuce: 3 cups (approx. 150g) fresh vibrant green chopped romaine lettuce for maximum crunch.
- Caesar Dressing: 1/2 cup (120ml) thick creamy white caesar dressing—high quality is key here.
- Parmesan Cheese: 1/4 cup (25g) delicate shavings of parmesan cheese for that authentic salty bite.
For a complete meal, consider pairing this with a side of creamy macaroni salad or some crispy cottage cheese chips for an extra crunch.
Mastering the Golden Breaded Chicken
The heart of the Crispy Chicken Caesar Wrap is the chicken itself. To achieve that golden-brown breaded chicken look, you must follow a proper dredging station technique.
The Three-Step Dredge
Start by seasoning your chicken strips with salt and pepper. Place your flour, beaten eggs, and Panko breadcrumbs in three separate shallow bowls. This organization is the secret to a clean kitchen and even coating.
Coat the chicken in flour, dip in the egg, and then press firmly into the Panko. Visual Cue: The chicken should be completely opaque with breadcrumbs, with no pink meat showing through the coating.
Searing to Golden Perfection
Heat 3 tablespoons (45ml) of neutral oil in a large skillet over medium-high heat. Place the chicken strips in the pan, ensuring they do not touch. Crowding the pan will steam the chicken rather than crisping it.
Fry for 3-4 minutes per side. You are looking for a golden-brown breaded chicken exterior that sounds hollow and crunchy when tapped with a fork. Once cooked, let them rest on a wire rack to maintain the crunch.
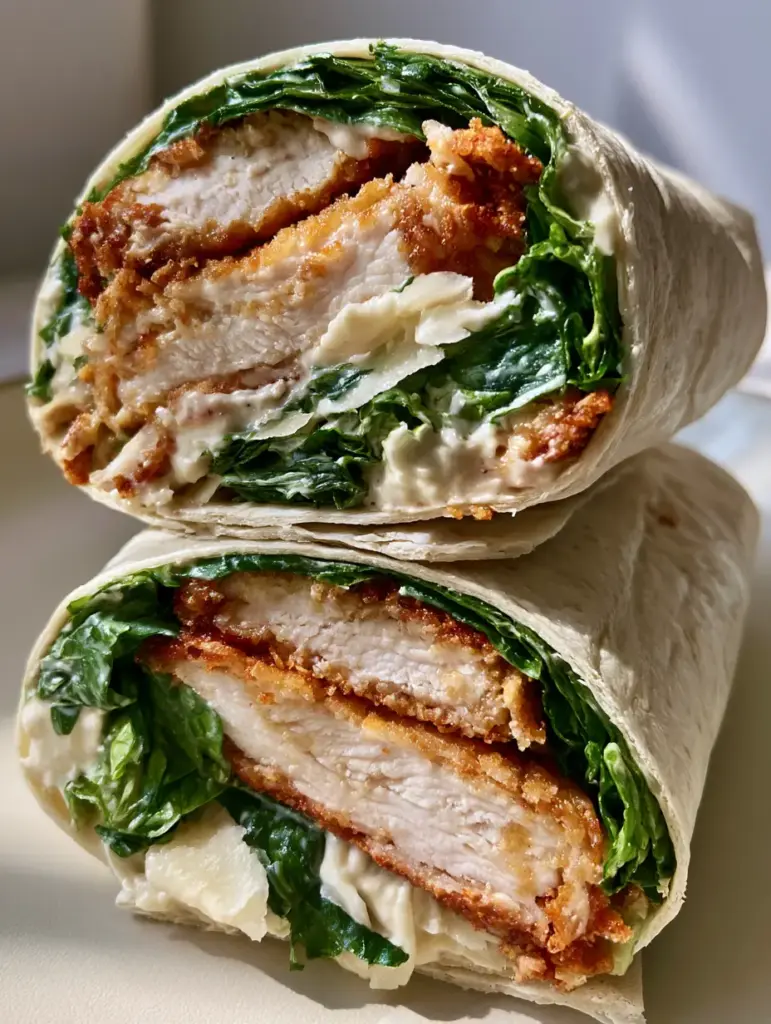
Assembling the Perfect Cross-Section
Assembly is where the Crispy Chicken Caesar Wrap becomes a work of art. To get that dense assembly of ingredients shown in the photos, follow this specific layering order.
The Layering Technique
Warm your soft white flour tortilla for 10 seconds in the microwave to make it pliable. Spread a thin layer of thick creamy white caesar dressing across the center. This acts as an anchor for the other ingredients.
Pile the fresh vibrant green chopped romaine lettuce on top, followed by the sliced golden breaded chicken. The heat from the chicken will slightly soften the lettuce, but the Panko will remain crisp.
The Final Flourish
Top the chicken with more dressing and a generous helping of delicate shavings of parmesan cheese. Visual Cue: The white shavings should stand out against the green lettuce, creating a high-contrast look that is perfect for smartphone photography.
Fold in the sides of the tortilla, then roll it tightly from the bottom. Use a sharp serrated knife to slice the wrap at a diagonal. This reveals the cross-section where the layers of chicken, greens, and sauce are perfectly visible.
Expert Tips for the Best Caesar Wrap
- Keep it Dry: Wash your romaine lettuce and dry it thoroughly with a salad spinner. Water is the enemy of a Crispy Chicken Caesar Wrap.
- Toast the Tortilla: For extra flavor, lightly toast the outside of the rolled wrap in a dry pan for 30 seconds to seal the seam.
- Emulsify the Sauce: If your dressing is too thin, whisk in a teaspoon of Greek yogurt to achieve that thick creamy white caesar dressing consistency.
- Balanced Bites: Slicing the chicken into thin strips ensures you get a bit of protein in every single bite of the wrap.
If you enjoy these flavors, you might also like our chicken alfredo broccoli bake for a comforting dinner alternative.
Storage and Meal Prep Advice
The Crispy Chicken Caesar Wrap is best enjoyed immediately to appreciate the golden breaded chicken crunch. However, you can meal prep the components separately.
Store the cooked chicken in an airtight container for up to 3 days. To reheat, use an air fryer at 350°F (175°C) for 4 minutes to restore the crispiness. Do not assemble the wrap until you are ready to eat, or the soft white flour tortilla will become soggy from the dressing.
What to Serve With Your Wrap
This wrap is a complete meal on its own, but it pairs beautifully with light sides. A roasted sweet potato salad adds a nice sweetness to balance the salty Caesar flavors.
If you are looking for a cozy pairing, a bowl of chicken vegetable stew makes this a hearty lunch-and-soup combo that satisfies any appetite.
Frequently Asked Questions
Absolutely. Swap the flour tortilla for a large collard green leaf or a low-carb tortilla, and use almond flour for the chicken breading.
Yes! While homemade golden-brown breaded chicken offers the best flavor, high-quality frozen crispy chicken strips can be used in a pinch for an even faster lunch.
The key is to dry your romaine lettuce completely using a salad spinner and to place the dressing between the lettuce and chicken, rather than directly against the tortilla.
For the best texture, eat the wrap within 30 minutes. If meal prepping, store the crispy chicken separately and assemble just before eating.
Warm the tortilla first to make it soft, fold in the two opposite sides about 2 inches, then roll tightly from the bottom up, keeping the fillings compressed as you go.
The Ultimate Crispy Chicken Caesar Wrap Recipe
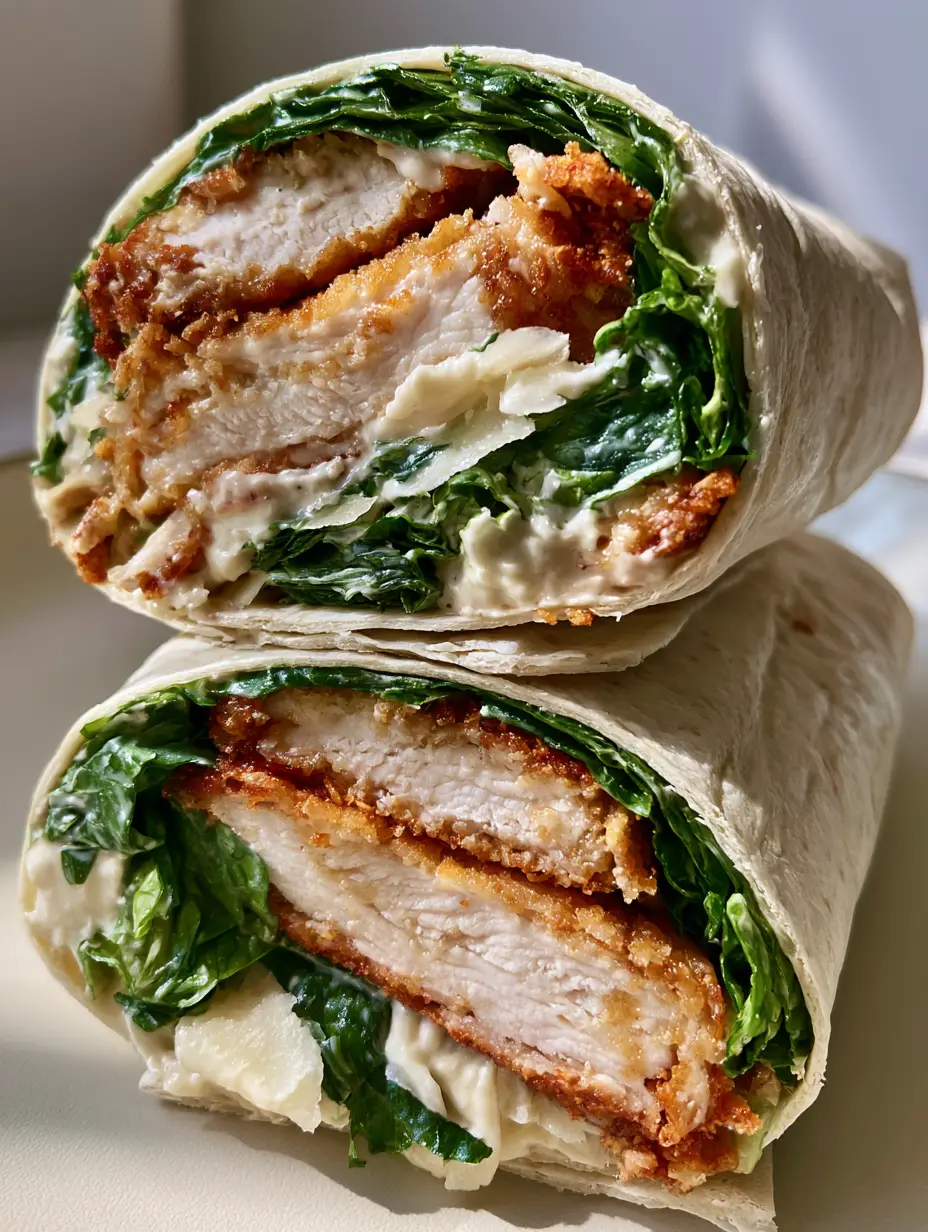
Crispy Chicken Caesar Wrap: The Ultimate Quick and Creamy Lunch
Ingredients
Equipment
Method
- Coat chicken strips in flour, dip in beaten eggs, and press into Panko breadcrumbs until fully coated.
- Heat oil in skillet and fry chicken for 3-4 minutes per side until golden-brown and crispy.
- Warm the tortilla, spread with Caesar dressing, and layer with romaine lettuce and crispy chicken strips.
- Top with parmesan shavings, roll tightly, and slice diagonally to reveal the dense cross-section.
Notes
Use an air fryer to reheat chicken for maximum crunch.

Save This Recipe to Pinterest!
Do you love this Crispy Chicken Caesar Wrap? Make sure to save it to your “Easy Lunch Ideas” or “Chicken Recipes” board on Pinterest! Following savorgrove helps us bring you more high-quality, visually stunning recipes every week.
If you make this wrap, please share a photo of your results in the comments below! We love seeing your cross-section photos. Don’t forget to leave a 5-star rating if this became your new favorite lunch!