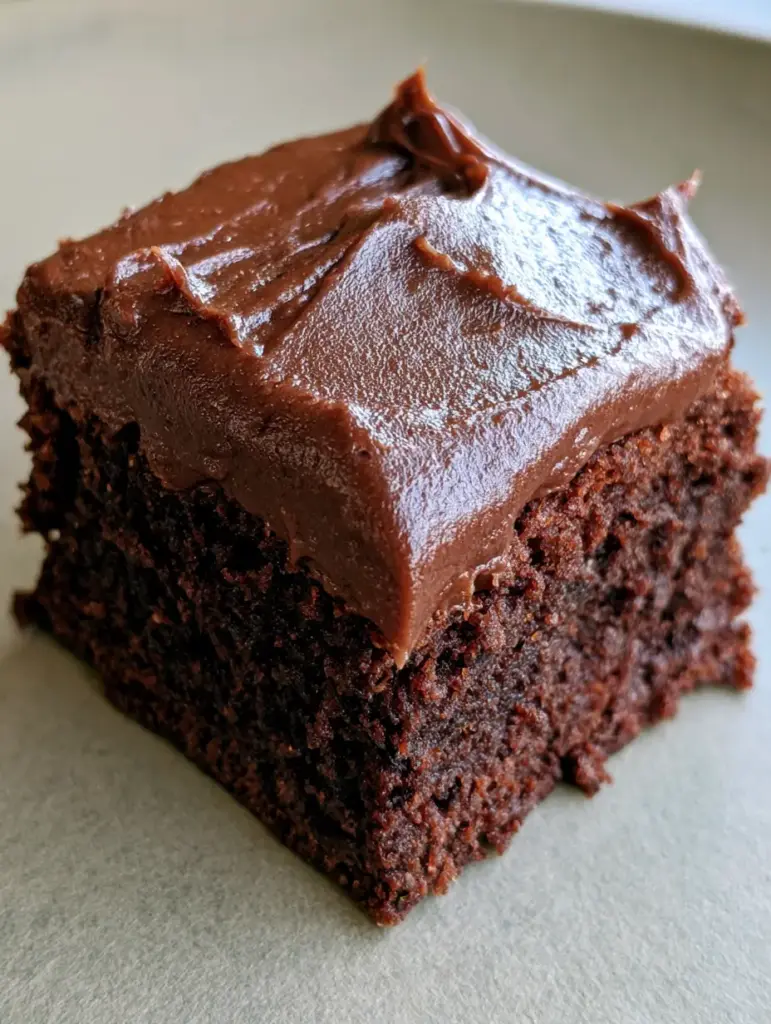
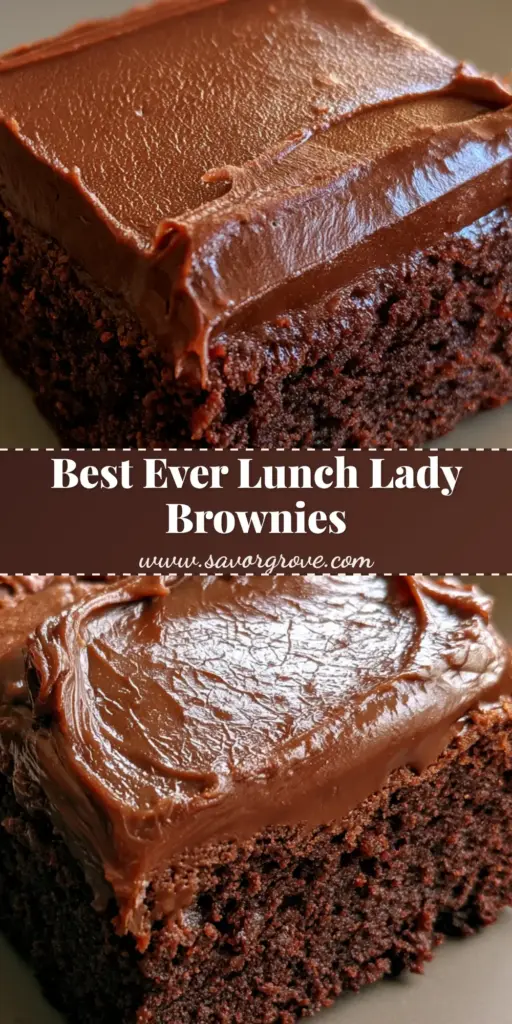
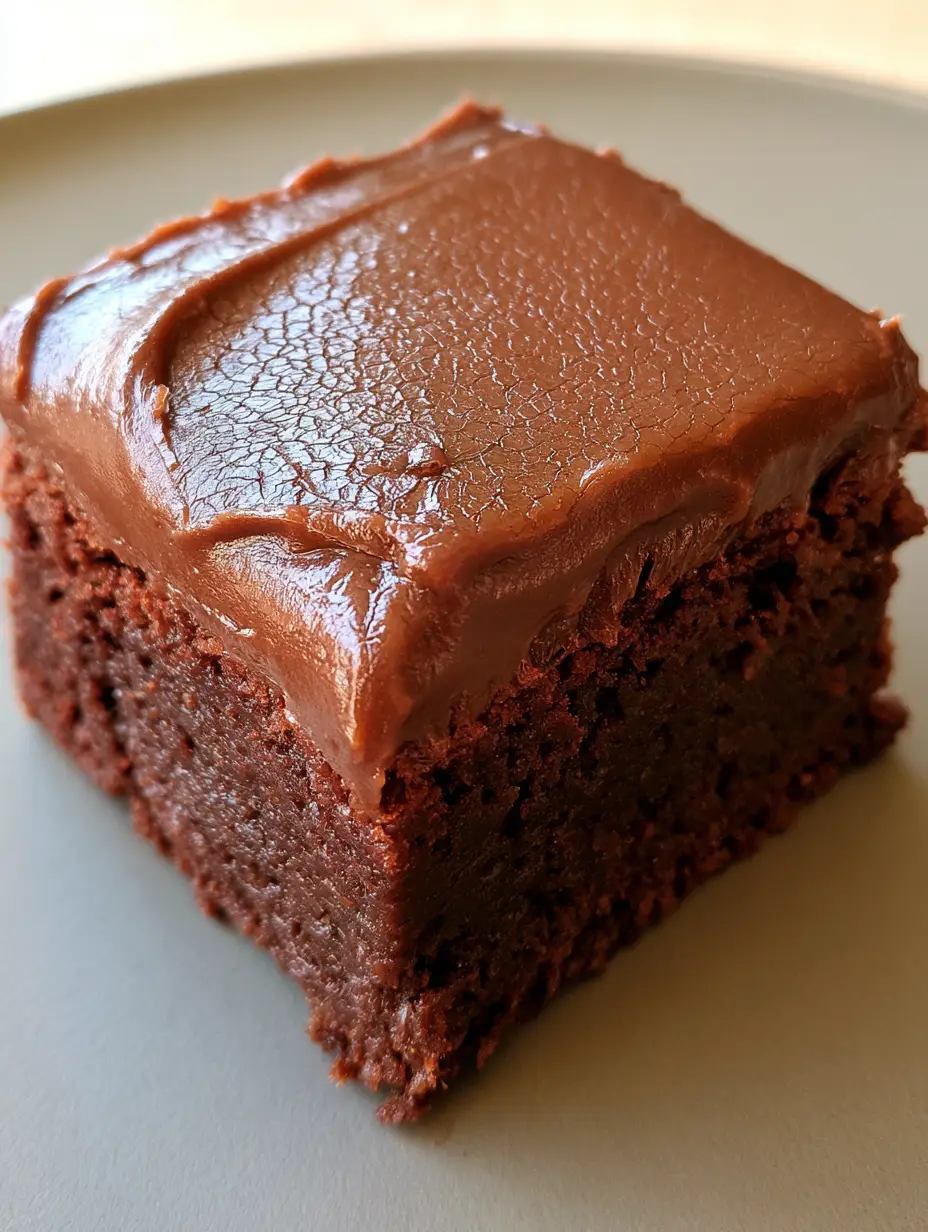
Lunch Lady Brownies are the holy grail of nostalgic desserts, instantly transporting you back to the elementary school cafeteria with a single bite. These aren’t your average box-mix treats; we are talking about a baked dense cocoa brownie base topped with a signature thick poured chocolate frosting that develops a delicate, set sugar crust finish. If you have been searching for that specific texture—a tight crumb that is moist yet sturdy enough to hold a slab of fudge—you have finally found it.
In this guide, we are breaking down the culinary science behind the perfect cafeteria tray brownie. From the specific way we incorporate the cocoa powder to the temperature-sensitive frosting technique that creates that iconic crackle, every detail is designed to replicate the visual beauty seen in these Lunch Lady Brownies.
Why This Lunch Lady Brownies Recipe Actually Works
- The Dense Crumb Structure: Unlike cakey brownies, these utilize a high fat-to-flour ratio to ensure a dense, moist, dark brown cocoa-based cake.
- The “Magic” Frosting: By pouring the warm fudge frosting over the brownies while they are still slightly warm, we achieve a semi-glossy finish and a thin, delicate crackled sugar crust.
- One-Bowl Simplicity: No fancy equipment is needed—just a whisk, a bowl, and a craving for chocolate.
- School-Style Scale: This recipe is designed to be thick and square-cut, exactly like the ones served on those classic plastic trays.
If you love this vintage vibe, you might also want to check out our samoa-brownies">Samoa Brownies for a coconut twist, or if you need a savory balance to all this sugar, our honey-pepper-chicken-mac-and-cheese">Honey Pepper Chicken Mac and Cheese makes for the ultimate comfort food pairing.
Pantry Staples for Retro Cocoa Brownies
To achieve the authentic Lunch Lady Brownies flavor profile, we rely on high-quality pantry staples. The secret is in the cocoa powder; using a natural unsweetened cocoa provides that deep, nostalgic bite that reminds us of childhood.
Unsalted Butter (1 cup / 225g): We melt the butter to provide the fat necessary for that tight crumb structure and moisture. Using real butter is non-negotiable for the flavor.
Granulated Sugar (2 cups / 400g): This provides sweetness and helps create the structural “chew” of the brownie base.
Unsweetened Cocoa Powder (1/2 cup / 45g): This is the foundation of the dark brown cocoa-based cake. It offers a punchy chocolate flavor without the heaviness of melted chocolate bars.
Large Eggs (4 total): The eggs act as the binder. Beating them well into the batter introduces just enough air to give the brownie lift without making it airy or cake-like.
All-Purpose Flour (1 1/2 cups / 180g): The structural backbone. We use just enough to hold the brownies together while maintaining that dense texture.
Vanilla Extract (1 tablespoon / 15ml): High-quality vanilla rounds out the cocoa notes and adds depth to the sweetness.
For the Iconic Frosting: You will need 1/2 cup (115g) of butter, 1/4 cup (25g) of cocoa powder, 1/3 cup (80ml) of whole milk, and 3 cups (360g) of powdered sugar. This combination is what creates the thick, opaque layer of smooth chocolate fudge frosting.
Step-by-Step Guide to the Perfect Square-Cut Brownie
Step 1: Preparing the Cocoa Base
Preheat your oven to 350°F (175°C). Start by melting your 1 cup (225g) of butter. In a large mixing bowl, whisk the melted butter together with 2 cups (400g) of granulated sugar. Once combined, sift in 1/2 cup (45g) of cocoa powder. Boldly whisk until the mixture looks like dark, liquid silk.
Step 2: Incorporating the Binder
Add your 4 large eggs one at a time, whisking vigorously after each addition. This ensures the dense, moist texture is consistent throughout. Stir in the vanilla extract and a pinch of salt. The batter should look glossy and thick at this stage.
Step 3: Folding the Flour
Gently fold in 1 1/2 cups (180g) of all-purpose flour. Stop mixing as soon as the last white streak disappears. Over-mixing at this stage will lead to a tough brownie, and we want a tight crumb structure that melts in your mouth. Pour the batter into a greased 9×13 inch baking pan.
Step 4: The Bake and Sensory Cues
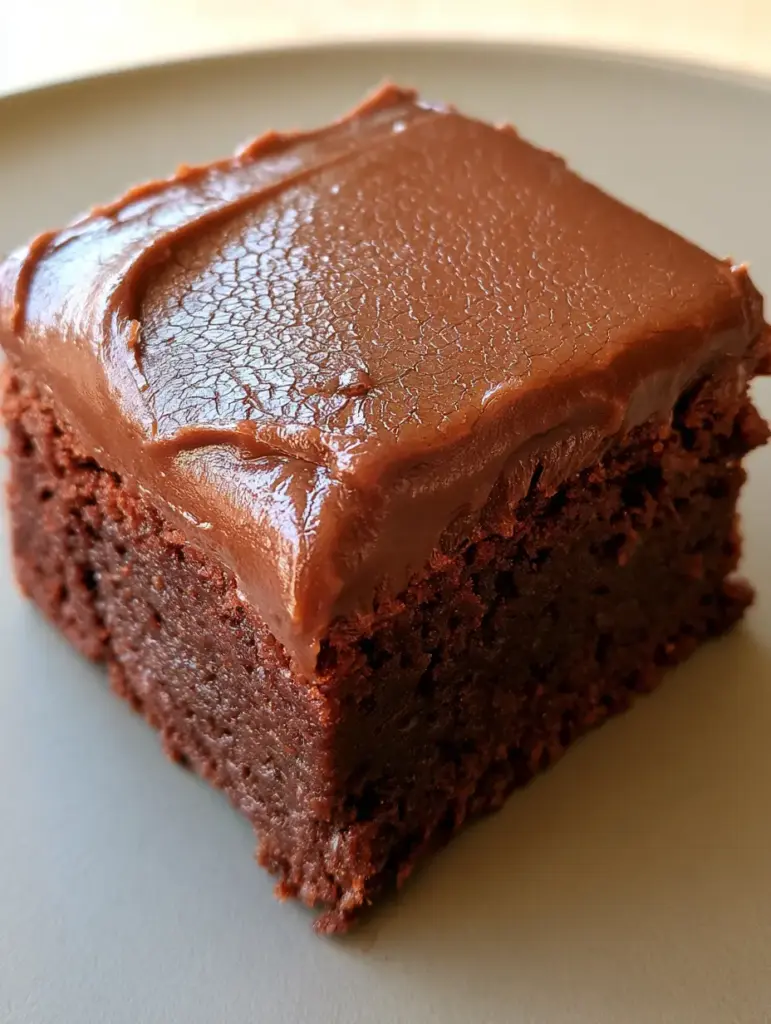
Bake for 20-25 minutes. You are looking for a Visual & Sensory Cue: the edges should be slightly pulling away from the sides, but the center should still have a very slight jiggle. Do not overbake! A toothpick inserted should come out with a few moist crumbs attached.
Step 5: The “Poured Fudge” Frosting Technique
While the brownies are cooling for about 10 minutes, prepare the frosting. In a saucepan, melt 1/2 cup (115g) butter, 1/4 cup (25g) cocoa, and 1/3 cup (80ml) milk. Bring to a boil for 30 seconds, then remove from heat. Whisk in 3 cups (360g) of powdered sugar until perfectly smooth. Immediately pour this opaque layer over the warm brownies.
As the frosting cools, you will see the semi-glossy finish transform into a very thin, delicate crackled sugar crust on the surface. This is the hallmark of a true Lunch Lady Brownie.
Expert Tips for Success
- The Temperature Trick: Pour the frosting while the brownies are still warm. This allows the frosting to “fuse” to the base, creating that distinct layered look.
- Sift Your Sugar: Always sift your powdered sugar for the frosting to ensure there are zero lumps in your smooth chocolate fudge.
- Wait to Cut: As tempting as it is, let these cool completely. This allows the sugar crust finish to set, giving you those perfect, sharp square-cut edges.
- Use Natural Cocoa: Dutch-processed cocoa works, but natural cocoa provides the acidic reaction that gives these that specific retro cafeteria flavor.
Looking for a quick lunch before diving into these brownies? Try our crispy-chicken-caesar-wrap or these delicious chicken-ricotta-meatballs for a high-protein meal.
Storage, Reheating & Freezing
Storage: These brownies are best kept in an airtight container at room temperature for up to 4 days. The sugar crust stays crispest when not refrigerated.
Freezing: You can freeze these for up to 3 months. Wrap individual square-cut pieces in plastic wrap and then foil. Thaw at room temperature to preserve the frosting texture.
Reheating: We don’t recommend microwaving these, as it will melt the thick chocolate fudge frosting. They are best enjoyed at room temperature or slightly chilled!
What to Serve With This
To lean into the nostalgia, serve these with a cold glass of whole milk. If you are hosting a dinner party, they pair beautifully with a scoop of vanilla bean ice cream. For a full “cafeteria” themed night, start with our cinnamon-sugar-biscuit-bites as an appetizer (because why not have dessert first?) and follow up with these brownies as the grand finale.
Frequently Asked Questions
Yes, you can, but natural unsweetened cocoa powder provides the most authentic ‘retro’ flavor profile and reacts better with the sugar to create the dense crumb.
Wait until the brownies and frosting are completely cooled at room temperature. For even cleaner lines, wipe your knife with a warm, damp cloth between each cut.
This recipe uses a high ratio of fat (butter) and sugar to flour, and omits chemical leaveners like baking powder, resulting in a tight, moist crumb structure.
The crackle crust forms when the warm frosting hits the warm brownies, causing the sugar to crystallize as it cools. If either the frosting or the brownie is too cold, the crust won’t set properly.
The Authentic Lunch Lady Brownies Recipe
Lunch Lady Brownies: The Ultimate Nostalgic Crackle-Top Recipe
Ingredients
Equipment
Method
- Whisk together melted butter, granulated sugar, and cocoa powder until smooth.
- Incorporate eggs one at a time, followed by vanilla extract.
- Gently fold in the flour until just combined to maintain a dense crumb.
- Pour into a 9x13 pan and bake at 350°F (175°C) for 20-25 minutes.
- In a saucepan, bring butter, cocoa, and milk to a boil for 30 seconds.
- Remove from heat and whisk in powdered sugar until smooth.
- Pour immediately over warm brownies and allow to set until the crackle crust forms.
Notes
Allow brownies to cool completely before cutting into squares for the cleanest look.
Save This Recipe for Later!
If you loved these Lunch Lady Brownies, make sure to save this recipe to your Pinterest Dessert Board so you never lose it! Follow @savorgrove for more nostalgic bakes and easy weeknight dinners. We would love to see your results—tag us in your photos or leave a 5-star rating in the comments below if these took you right back to the fourth grade!